
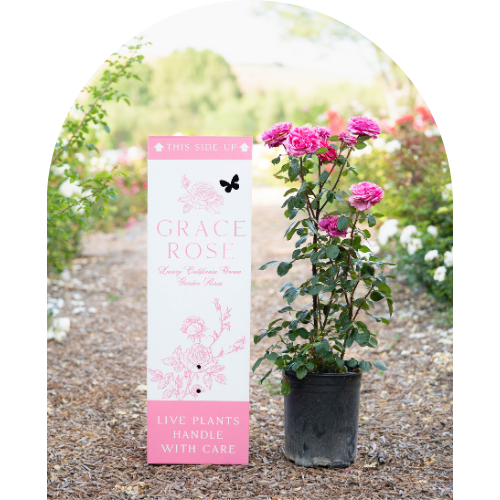


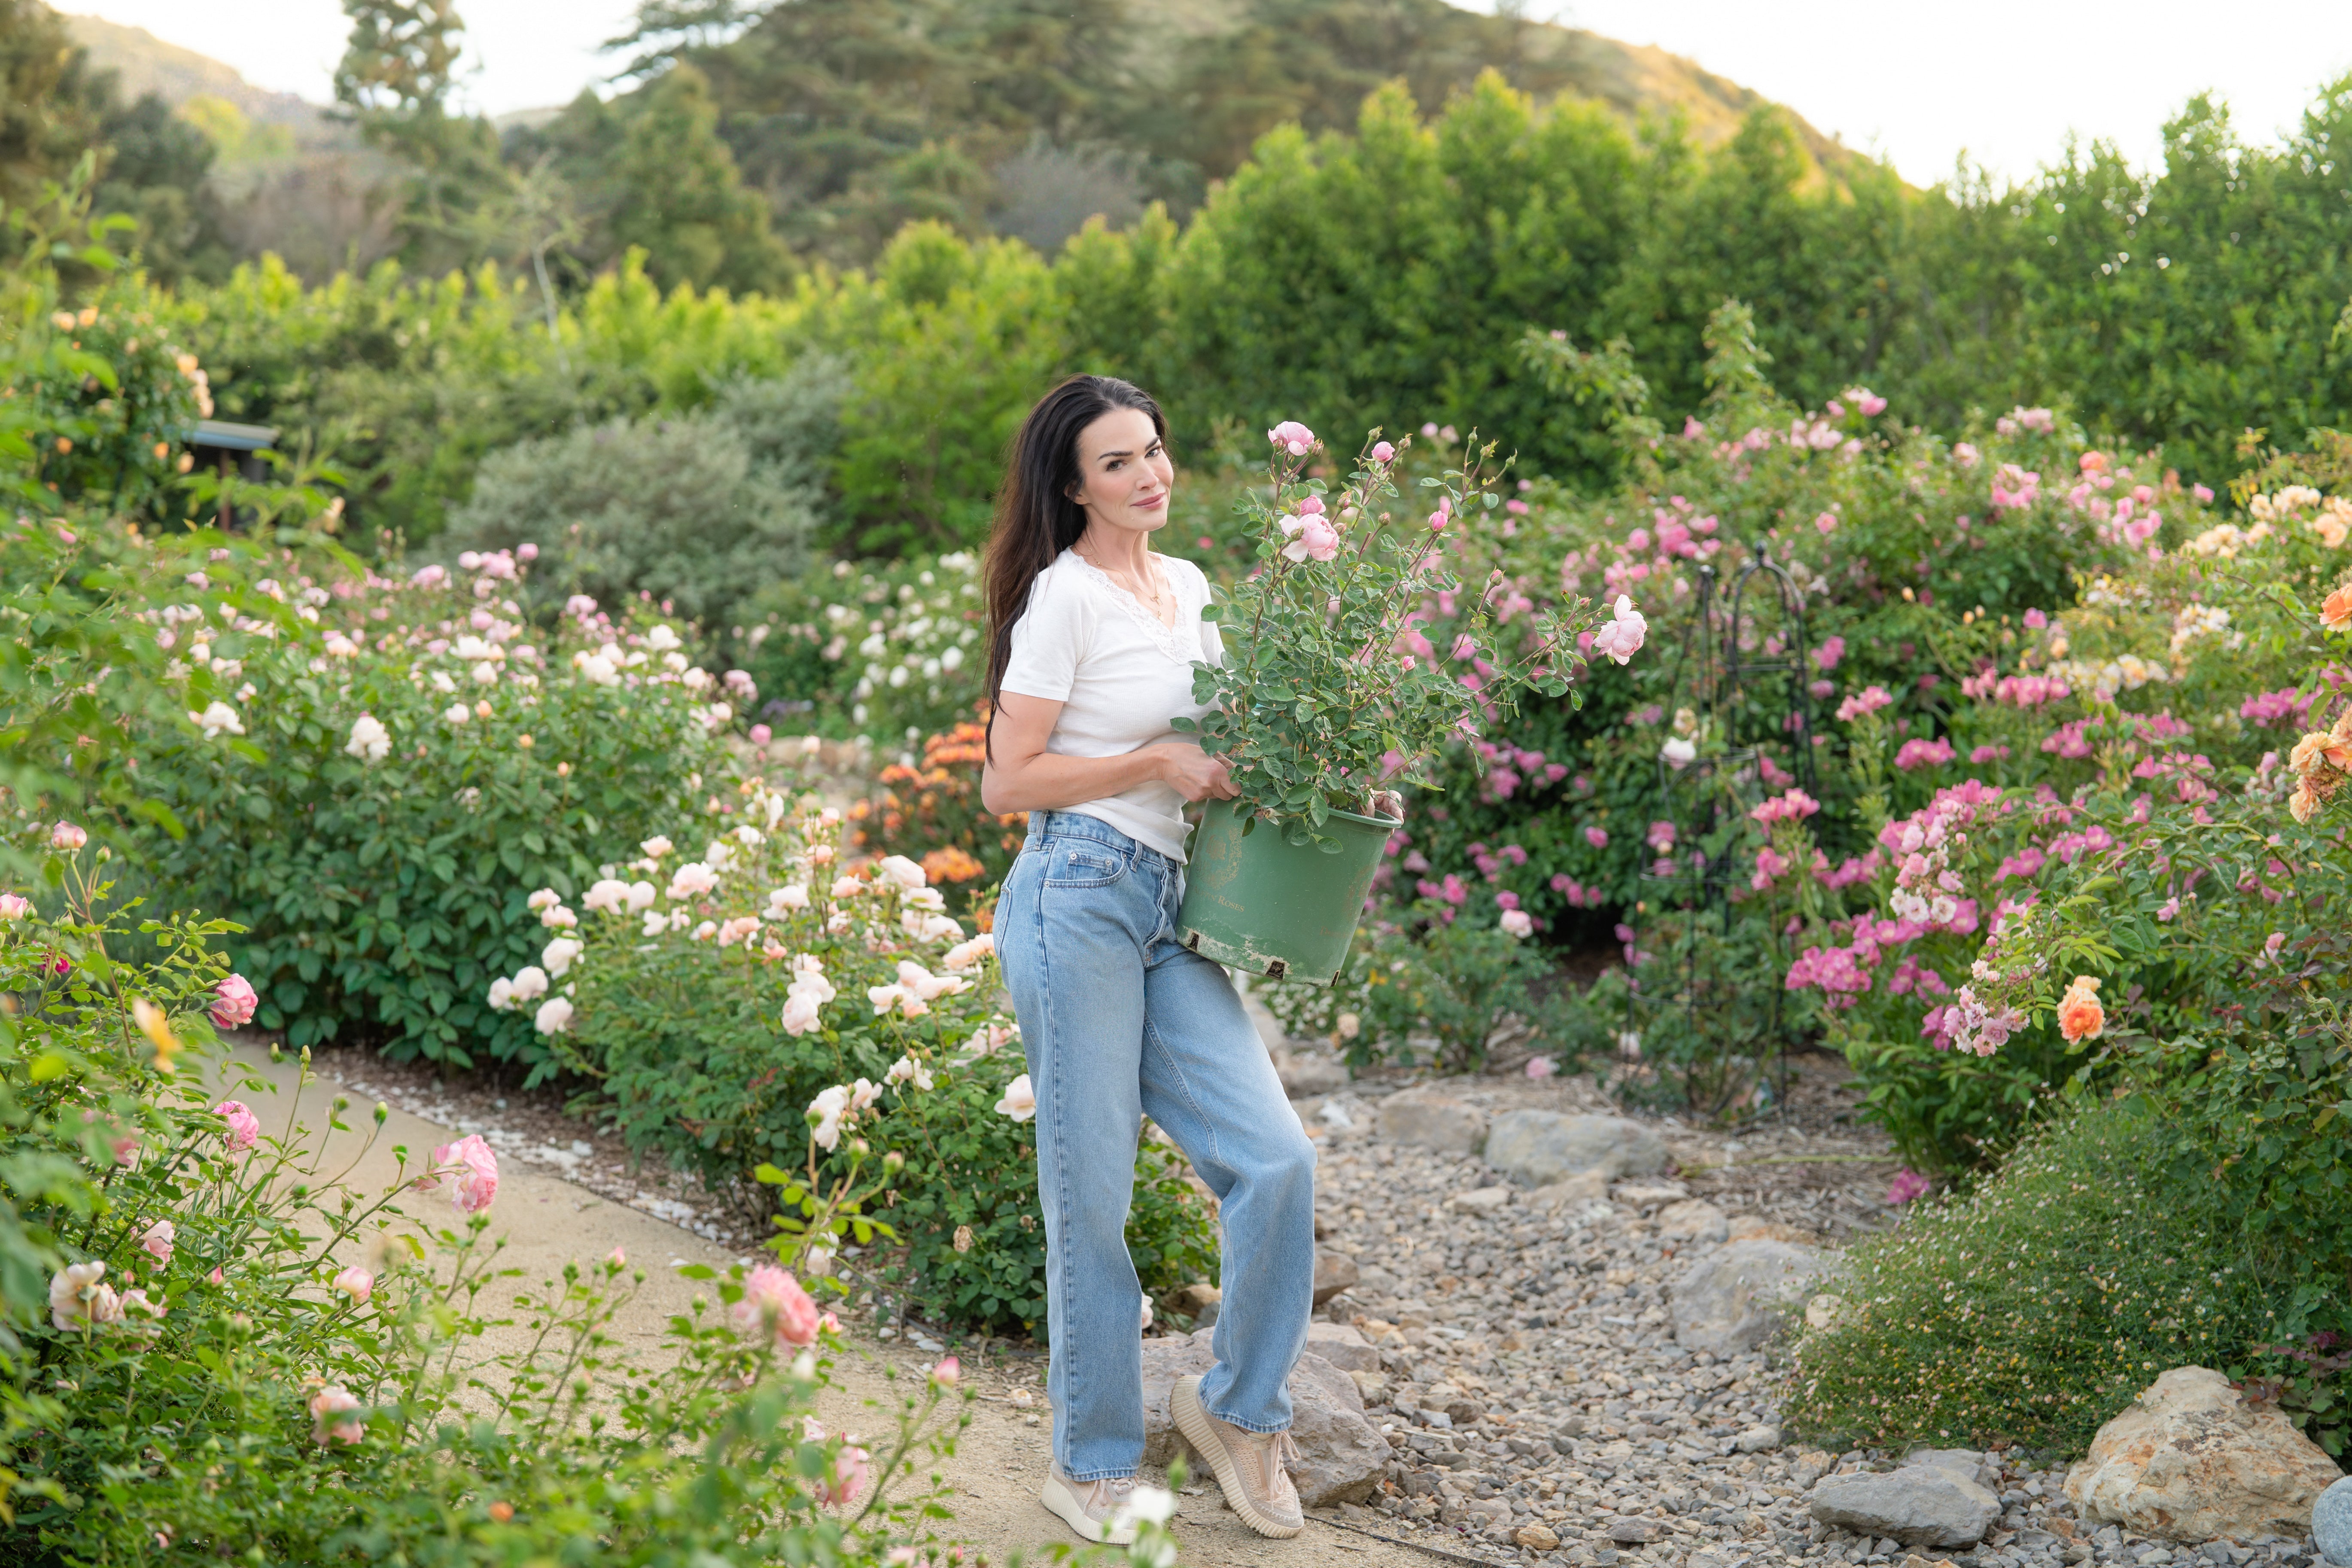
Follow these steps to ensure your potted rose flourishes beautifully from the very start. One of the best things about potted roses is that they can be planted during your climate's entire growing season. They arrive with an extensive root system and plentiful top growth, so they will quickly acclimate to their permanent location in your garden.
Choose a Location Where Your Rose Will Thrive
Roses need full sun to bloom prolifically and reach their full potential. Select a spot that basks in at least 6 hours of sunlight daily. The more sun, the better; however, afternoon shade can provide a much-needed respite in scorching climates.
Allow your rose ample room to grow and thrive, ensuring it’s sufficiently distanced from competing plants, such as towering trees and thick hedges. If planting multiple roses, space them the variety's maximum width apart.
Prepare the Soil for Success
Choose an area with good drainage and use a shovel or pitchfork to break apart the soil, remove weeds by hand, and move any large rocks away from where your rose will be planted. This preparation creates a nurturing environment for the new roots to explore and embrace their new home. To ensure that your hole has good drainage, fill the empty hole with water. If it drains in less than 30 minutes, you have good drainage. If it takes longer than 12 hours, you will need to dig lower and create a draining gravel pit below the planting zone of the soil. Roses do not like “wet feet”, so this step is critical for the long-term success of your rose.
Dig a Hole and Loosen the Soil
How deep and wide to dig the planting hole depends on the soil volume of the container you are planting. A good rule of thumb is to dig the hole twice as wide as the root ball and the same depth as the root ball. The depth will depend mainly on where the bud union of a budded rose is, or the location of the knot of an own-root rose.
Placing Your Rose in the Hole
Since your rose is arriving with extensive roots, removing it from the nursery pot may be difficult. Place the plant on its side and place pressure on the outside of the pot, gently turning the pot and placing pressure on several spots until it loosens from the sides. Grab the rose at the base of the plant, just above the soil line, and gently remove from the pot. If the roots are swirling, gently cut through the outer roots with a sharp instrument. This stops the circling of the roots.
Rosarians highly debate how deeply you plant the bud union or knot. We aspire to the techniques of Paul Zimmerman, who suggests all roses, no matter the climate zone, bury the bud union on a budded rose, or the knot on an own root rose, 2” below the soil line. This ensures the plant is stabilized against wind damage and protected from weather extremes in colder climates.
Planting Amendments
Your rose arrives in its pot with a specialized growing medium. You will want to provide a transition zone between the ideal soil in the container and your native soil. Do not add any fertilizers to the soil. Once new foliage emerges from your rose, you can begin a fertilizer regimen. This is the sign that the rose is ready. We suggest an organic-based fertilizer focusing on root growth during the first planting season.
Backfill, Water, and Mulch
Before backfilling the hole, mix your native soil and an organic-based compost at a ratio of 50/50. This will provide your rose with a transition zone that will help it to thrive in your native soil long term. Use the blended soil mixture and backfill the hole a few inches at a time, making sure to use your fingers to help settle the soil around the root ball and prevent air pockets that will cause the plant to dry out. Water well with your garden hose to help your rose settle into its new home. Apply a minimum of 2 gallons of water. You may notice your rose sinks an inch or two after watering, which is normal. You can add more topsoil in this case.
Mulching is a vital step in ensuring the success of your rose. We suggest using a hardwood-based mulch at a depth of 2”. Never use plastic or rock around your rose. This will heat up the soil and damage the root system. If you use drip irrigation, ensure the emitter is within 6" of the base of the rose.
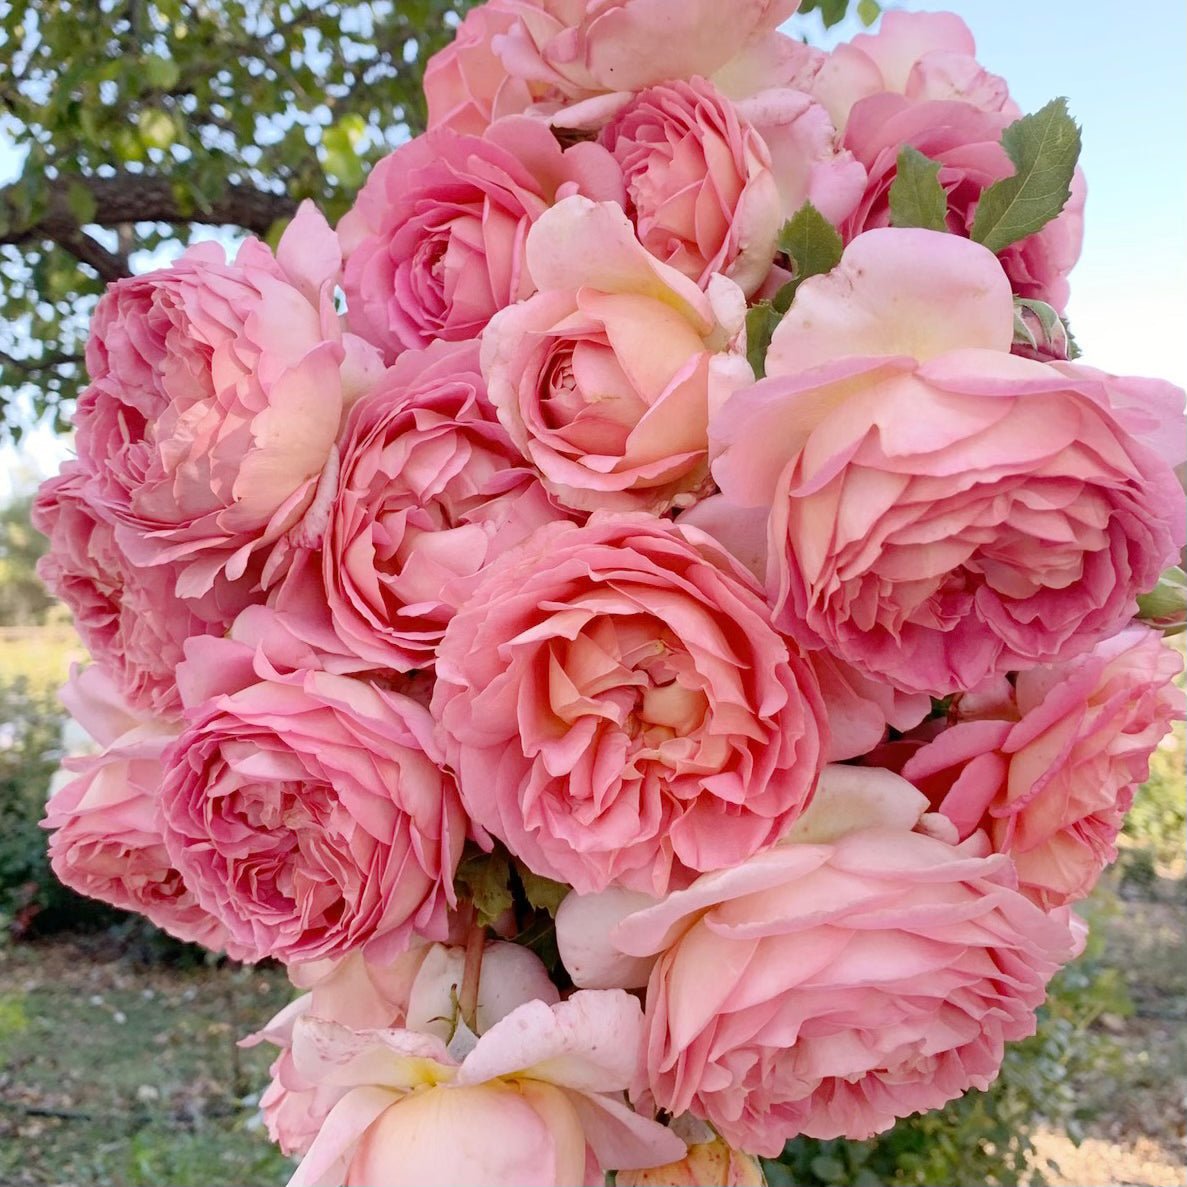
Embrace these simple steps, and watch your potted rose embark on its journey toward blooming magnificence! Remember to water and feed regularly for gorgeous, healthy rose bushes.


